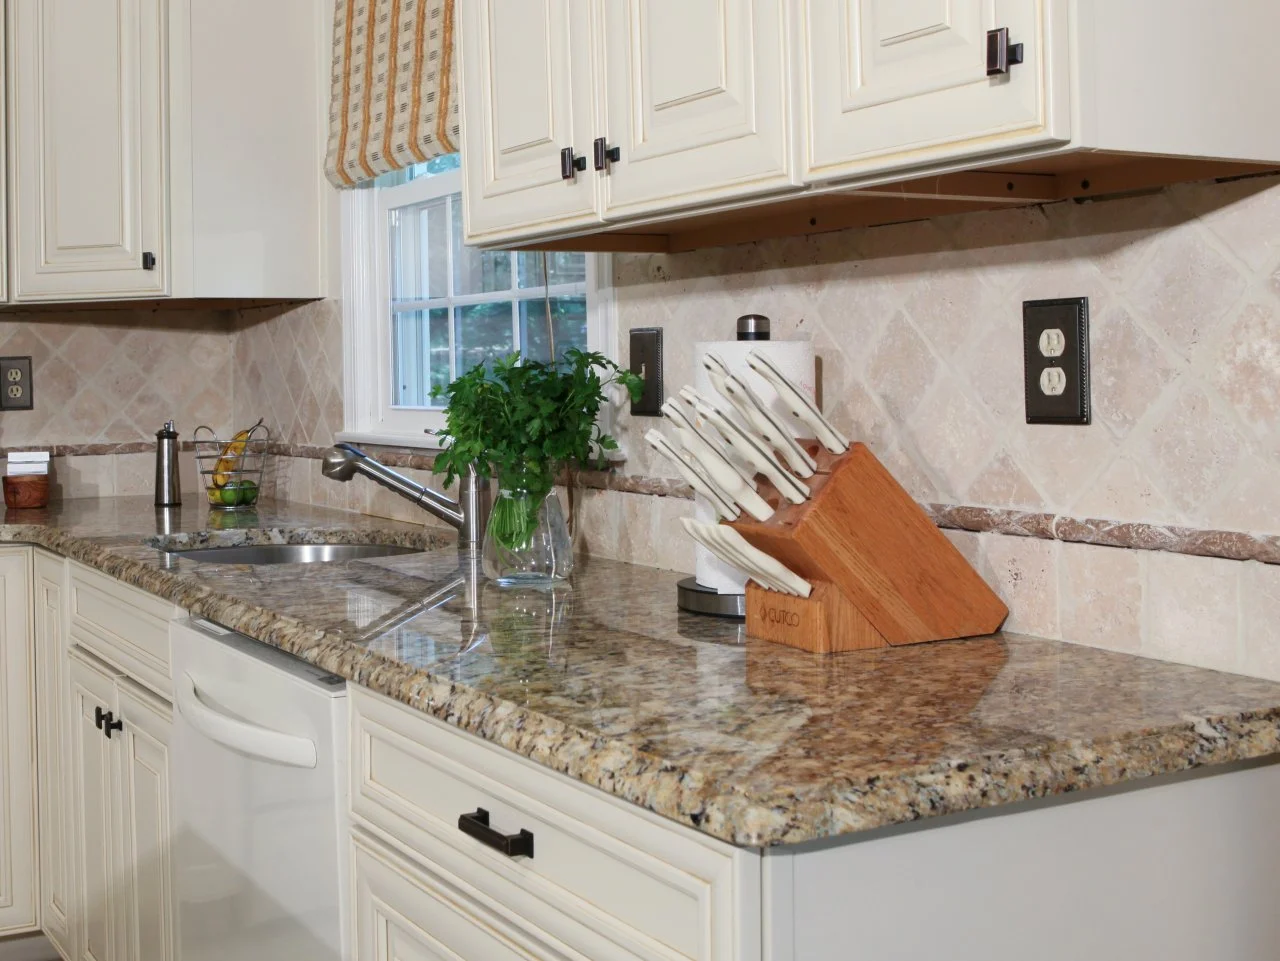
The step-by-Step Installation Guide for Granite Countertops
Installing granite countertops is a rewarding but intricate process, requiring attention to detail and precision. The first step is proper preparation, which involves measuring the kitchen or bathroom area where the granite will be installed. Take accurate measurements of the countertop surface, making note of any irregularities in the layout, such as curves or angles, to ensure that the granite fits properly. These measurements will then be used to create a template, which will guide the cutting of the granite slabs. Once the template is ready, the next step is to order the granite slabs. You will need to select the type, color, and pattern of granite that best fits your design preferences. After the slabs are ordered, they are delivered to the installation site, where they will be carefully handled and inspected for any defects. It is important to ensure that the granite pieces are of the correct size and that any cuts align with your specifications. With the granite slabs on site, it is time to prepare the base for installation. If you are replacing old countertops, remove the existing surfaces first, ensuring that the cabinetry beneath is level and sturdy.

If needed, reinforce the cabinets before continuing with the installation. Next, apply a layer of adhesive to the cabinets or base where the granite will sit. This adhesive is specifically designed for granite and ensures a secure bond. Once the adhesive is applied, carefully lift the granite slabs and position them onto the countertop base. This process requires multiple people, as granite is heavy and difficult to handle alone. Take your time to ensure that the slabs are aligned properly. After the slabs are in place, they may need to be trimmed or adjusted for perfect fitment. This may involve cutting the granite to accommodate sinks, cooktops, or other features in the design. Granite cutting requires specialized equipment, such as a diamond blade saw, which should be used by professionals or skilled installers to ensure clean, accurate cuts. Once the granite is properly aligned and any necessary cuts are made, it is time to secure the slabs in place.
Typically, a caulk or silicone is applied along the seams and edges to ensure a tight seal. The countertop is then pressed down firmly to ensure it adheres to the base. If your installation involves multiple slabs, ensure that the seams are aligned and filled smoothly with an epoxy or resin that matches the color of the granite and find this website. Finally, after the countertop is securely in place, it is important to seal the granite. Granite is porous, which means it can absorb liquids and stains if not properly sealed. Apply a granite sealer to protect the surface and enhance its longevity. Allow the sealer to dry fully, then buff the surface for a polished, smooth finish. Granite countertops can last for many years with proper care. Regular maintenance involves cleaning with mild soap and water, avoiding harsh chemicals, and resealing the granite surface periodically to maintain its beauty and durability. With careful installation and upkeep, granite countertops provide both functionality and an aesthetic upgrade to any home.